The following guide shows how you can use a Shelly wireless switch to trigger a Nuki Smart Lock, e.g. to control it with an analog controller.
Preparing the Nuki Bridge
*Steps that must be done beforehand: Set up and commission the Nuki Smart Lock and Nuki Bridge according to Nuki's instructions, *and, if possible, configure your router so the Nuki Bridge always receives the same IP address.
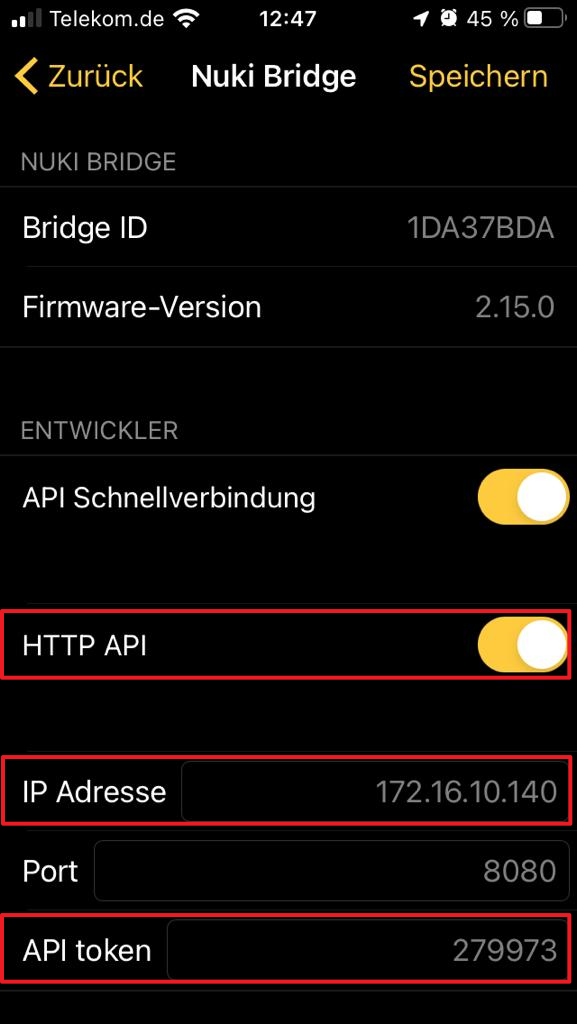
In the Nuki Bridge interface, enable the "HTTP API" function and note down the IP address and "API token"
Configuring the Shelly Wireless Switch
Steps that must be done beforehand: Set up and commission the Shelly1 according to the Shelly instructions.
In the Shelly web interface > I/O URL actions > BUTTON SHORT PRESSED URL, check "Enabled" and enter the following URL in the "Url to be hit when the button is switched ON" field to trigger the Nuki via the bridge.
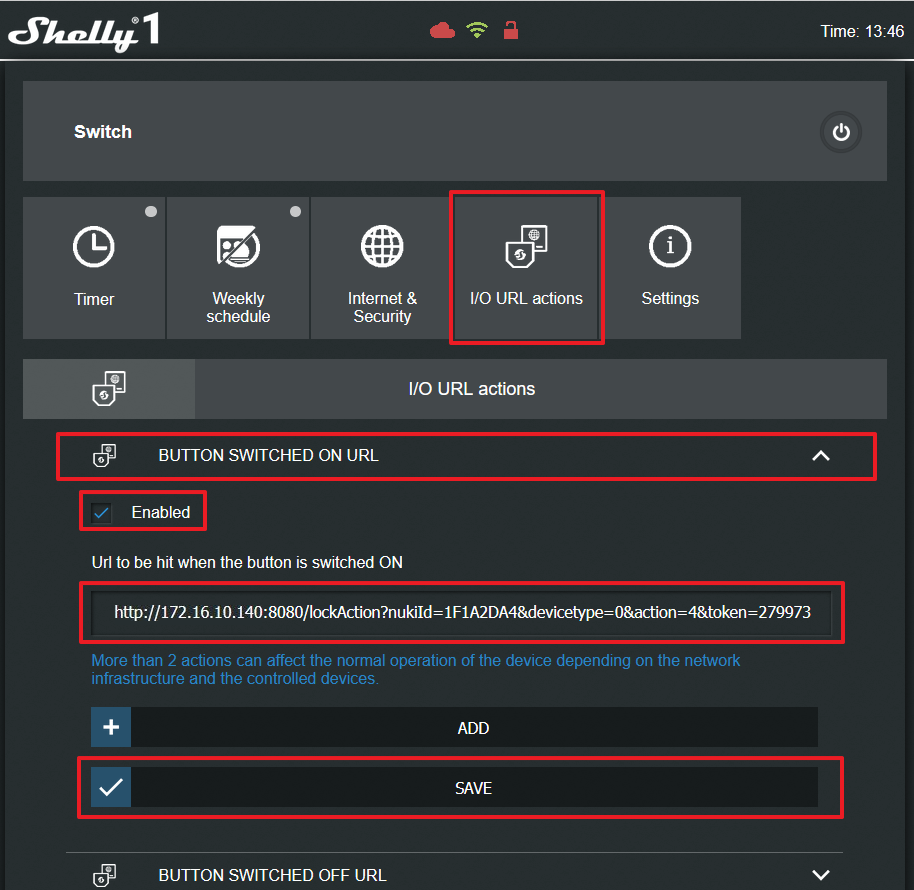
Example:
http://172.16.10.140:8080/lockAction?nukiId=1F1A2DA4&devicetype=0&action=4&token=279973
172.16.10.140 = IP address of the NUKI Bridge (see step 1)
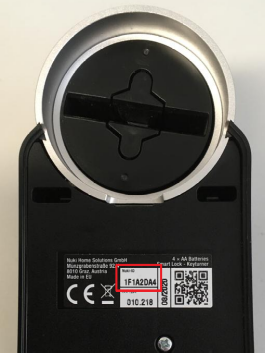
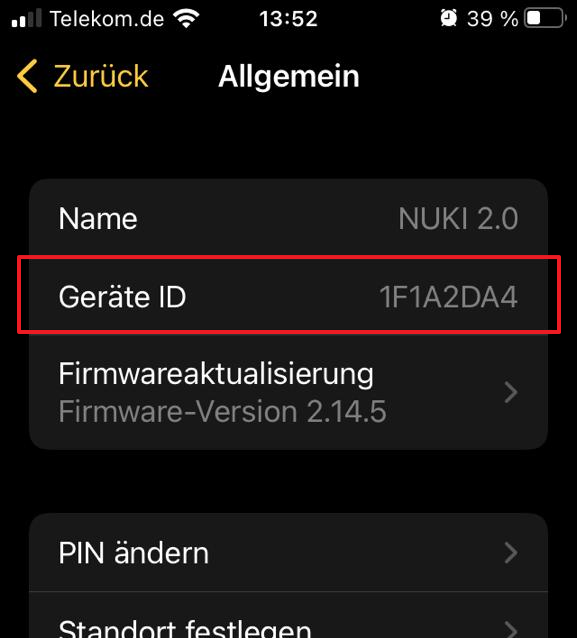
1F1A2DA4 = NUKI ID (found on the back of the NUKI Smart Lock, or also in the Nuki app)
279973 = the bridge token is generated randomly; it can be found in the NUKI Bridge interface (see step 1)
or
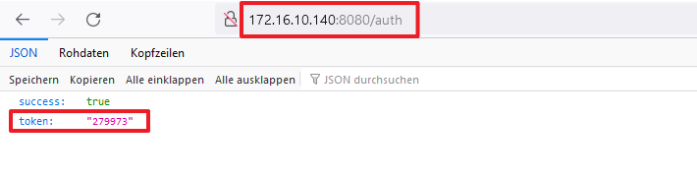
Option 2: request it via the web browser:
Enter the following URL in the web browser:
http://IP address of the Bridge:8080/auth + press the button on the bridge once
The Bridge Token will then be displayed.
Performing a Function Test
Test the function:
Option 1:
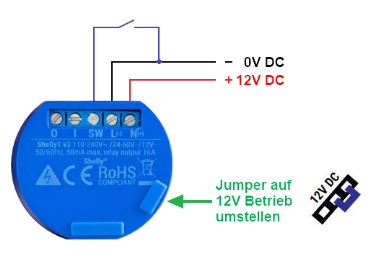
Bridge the SW and L(-) contacts on the Shelly1:
Option 2:
Enter the URL in the browser and confirm with Enter:
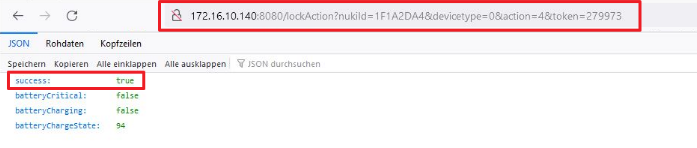
The Nuki Smart Lock should then open / close.


