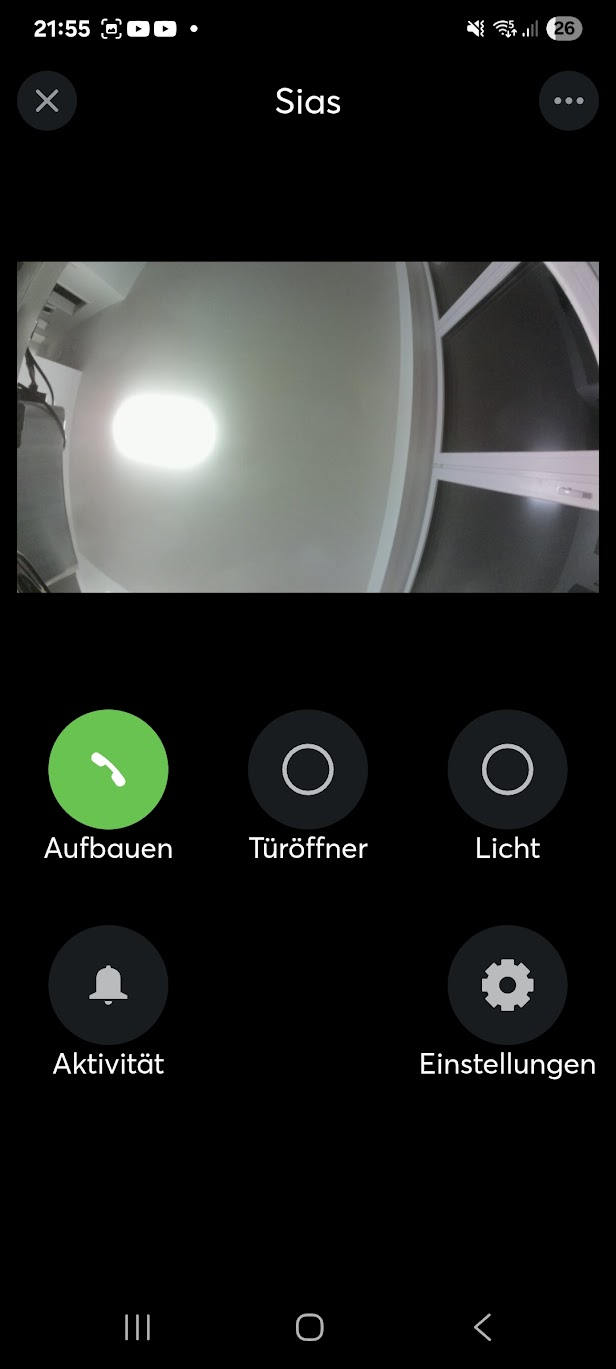
The following guide covers operating ESENTA SIAS with a Loxone Miniserver.
It assumes that the Loxone Config software (https://www.loxone.com/dede/support/downloads/) has been installed and that a connection to the Loxone Miniserver has been established.
Adding SIAS as an intercom peripheral
Click Search and enter intercom:
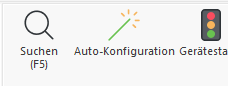
Then select Custom Intercom.
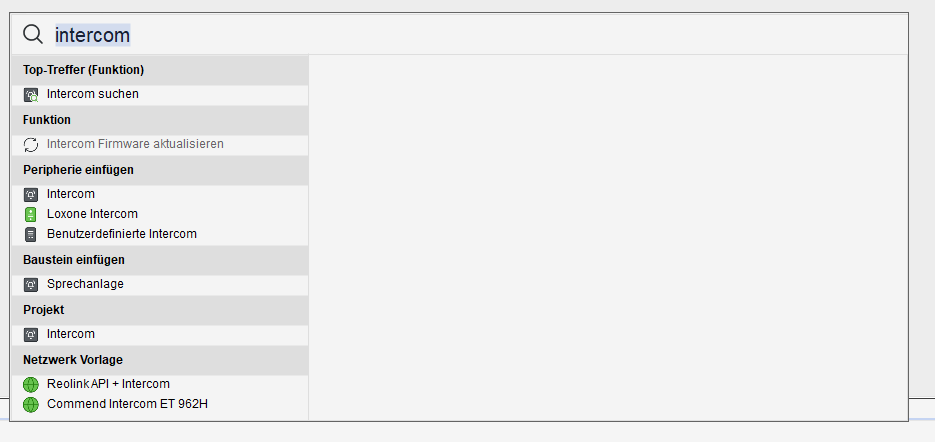
You can choose any name you like, for example "Sias".
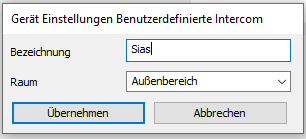
Next, select the new device in the tree view and open its properties via the gear icon:
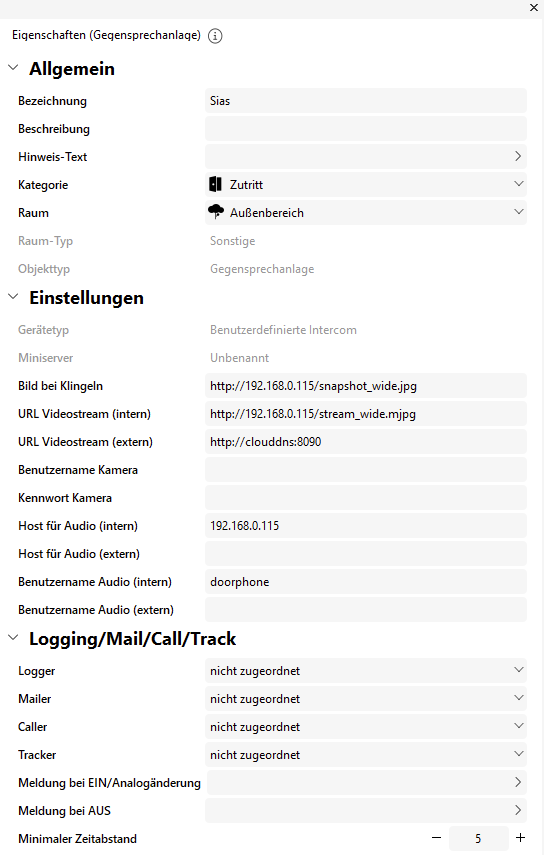
Under Image on ring enter the URL for the JPEG snapshot (16:9), and under Video stream URL (internal) enter the URL for the MJPEG stream (16:9) from SIAS. You can copy both URLs from the SIAS web interface under Camera > Streams:
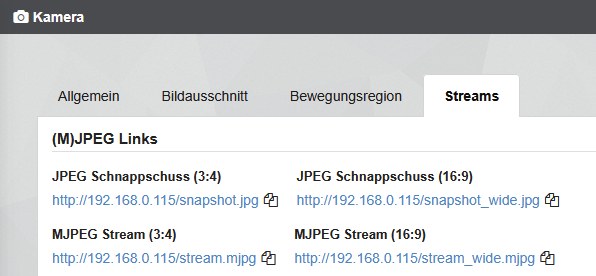
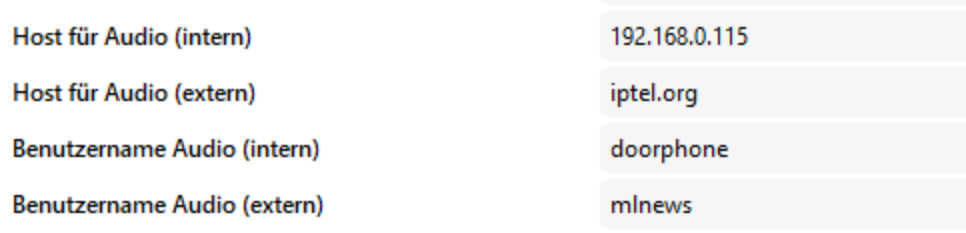
Under Audio host (internal) enter the IP address of SIAS. In this example that's 192.168.0.115. Under Audio username (internal) enter the SIP username of SIAS. In this example that's doorphone.
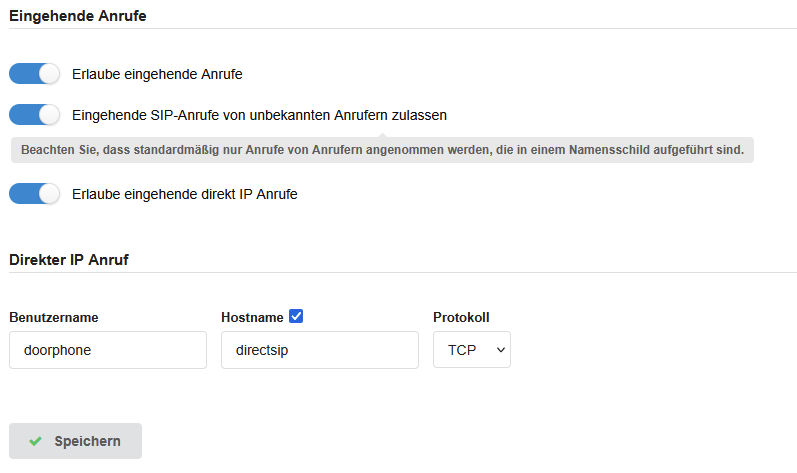
For the Miniserver to be able to call SIAS, the options Allow incoming calls, Allow incoming SIP calls from unknown callers, and Allow incoming direct IP calls must be enabled in the SIAS web interface under SIP Telephony > Call Settings:
Enabling remote access with the Loxone app
If you also want to access the door intercom from outside your own network via the Loxone app, additional settings are required.
If possible, we recommend using the ESENTA app instead.
From Miniserver Gen2 onward, image retrieval is possible via Remote Connect. On Miniserver Gen1, this is only possible via port forwarding.
To use Remote Connect, take the internal URL under "Video stream URL (external)" and replace the IP with the keyword "remoteConnect", and "http" with "https":
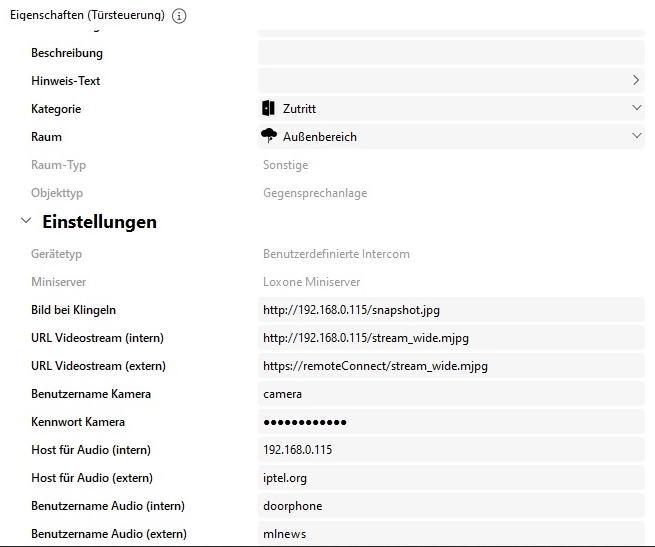
For a voice connection from outside the network, an external SIP server on the internet is required. It must be configured to allow calls from anonymous users who are not registered with the server (the Loxone app). One free option for this is iptel.org. If you create an account there, you can add it to ESENTA SIAS as an additional SIP server. In that case, enter "iptel.org" under SIP Server, and your credentials under Auth Username and Password.
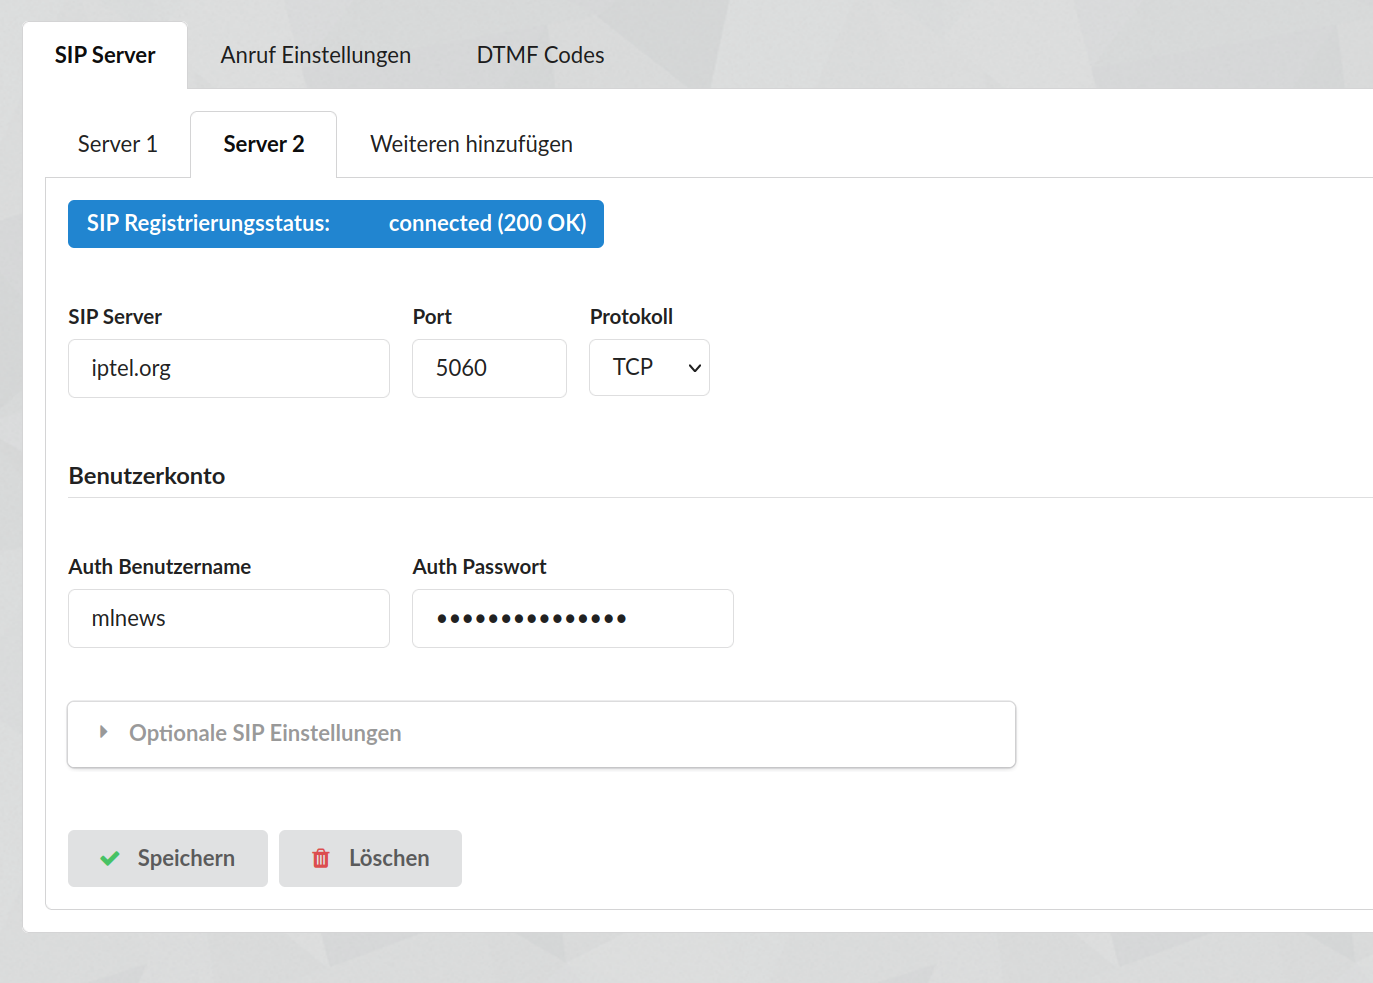
In the Loxone Config, enter "iptel.org" under Audio host (external) and your username under Audio username (external):
Ring signal via a virtual input
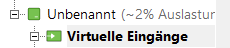
For SIAS to notify the Miniserver when someone rings, a virtual input must first be set up. In the tree view of the Loxone Config, select Virtual Inputs:
Then click the Virtual Input icon to add a new input:

Optionally, you can give it a name, for example SiasBell:
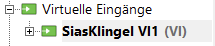
The Miniserver's virtual input can be triggered via an HTTP API with the following structure:
http://<miniserver>/dev/sps/io/<virtInputName>/<value>
In this example, that would be: http://192.168.0.159/dev/sps/io/vi1/pulse
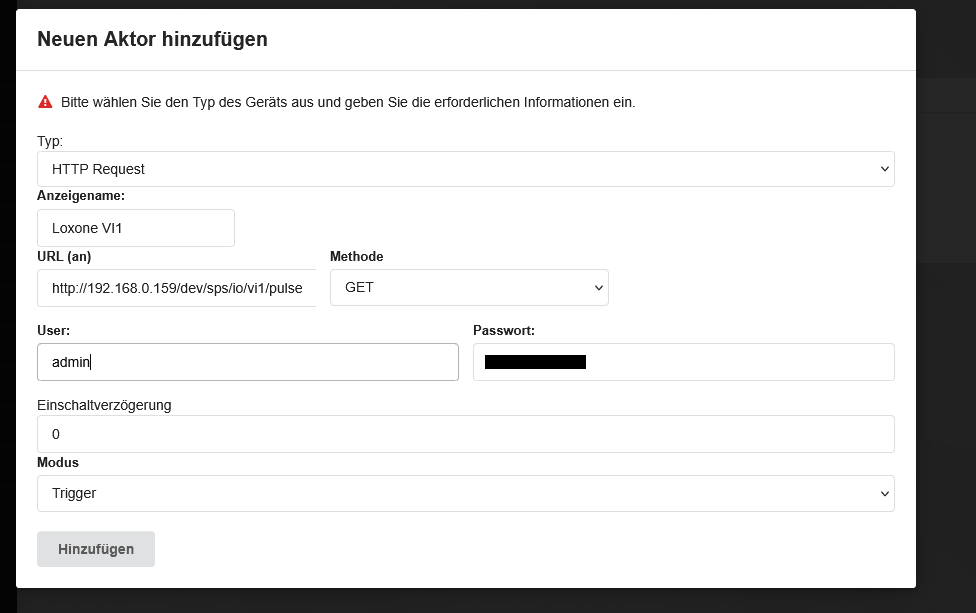
This URL can be added to ESENTA SIAS as an actuator. To do so, open the Smart Home > External Devices page and click Add device.
Select HTTP Request as the type, enter the URL under URL (on), give it a display name, and enter your Loxone user and password:
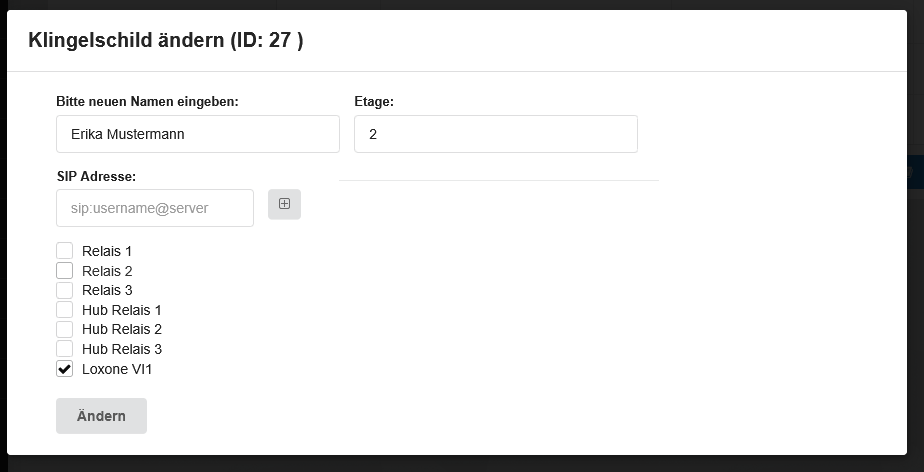
Once the actuator has been created, it can be enabled for a doorbell button via the corresponding checkbox. It will then be triggered whenever that button is pressed:
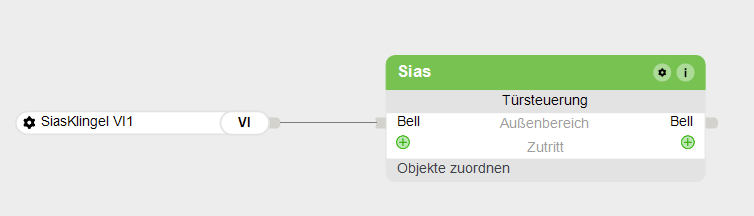
You can drag and drop the newly created intercom and the virtual input onto the worksheet, then connect the input to carry the ring signal:
Door-opener signal via a virtual output
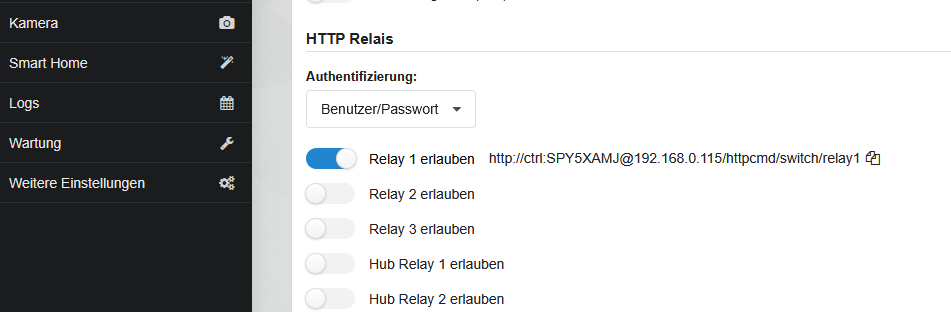
First, in the SIAS web interface, enable the HTTP relay interface under Smart Home for the relay connected to the door opener, and copy the displayed URL:
Now, in the Loxone Config tree view, select Virtual Outputs:

Then click the Virtual Output icon to create a new output:

Now select the newly created output:

Then, via the corresponding icon, create a Virtual Output Command:

In the properties of the VQ1 output, enter the base URL for the SIAS relay in the following format under Address:
http://
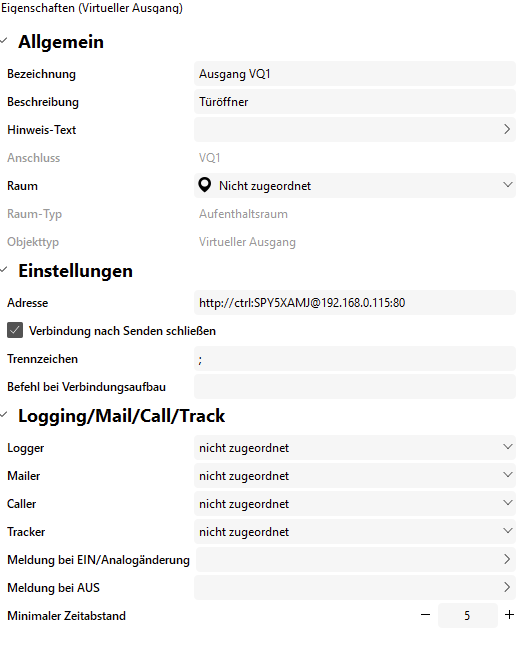
Then, in the properties of the Virtual Output Command, under Command on ON, enter the endpoint /httpcmd/switch/relay/1:
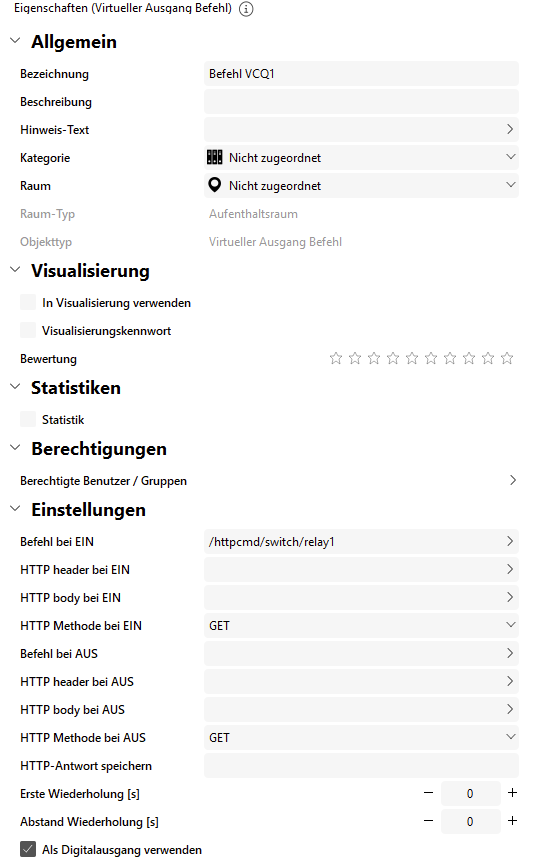
Now, in the properties of the SIAS intercom peripheral, under O1: Visualization Function 1, enter a name for the button that will be shown in the Loxone app. Here it's "Door Opener":
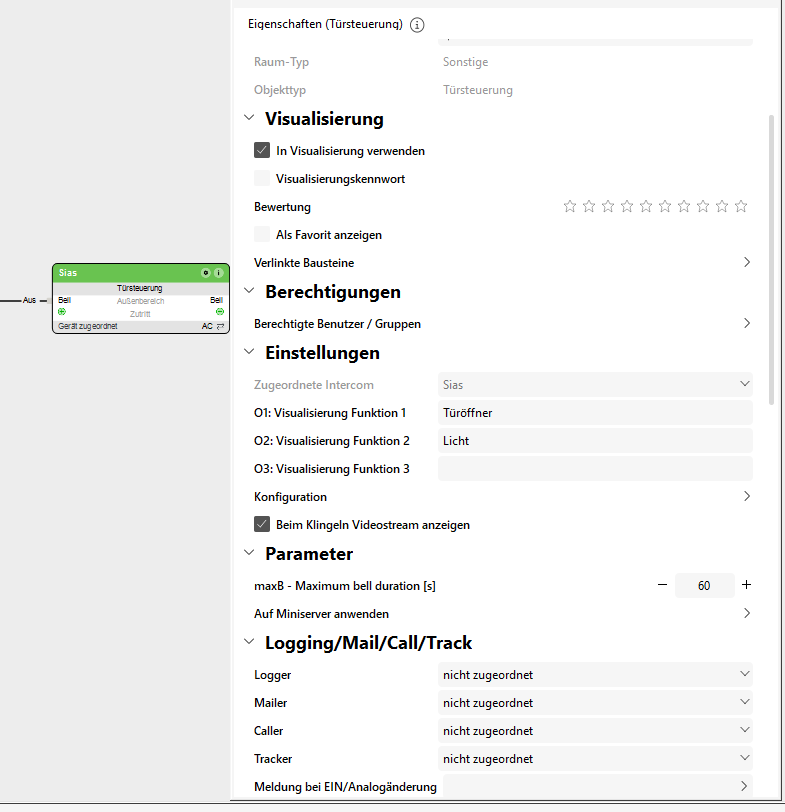
The O1 output must be enabled via the green plus button and the corresponding checkbox:
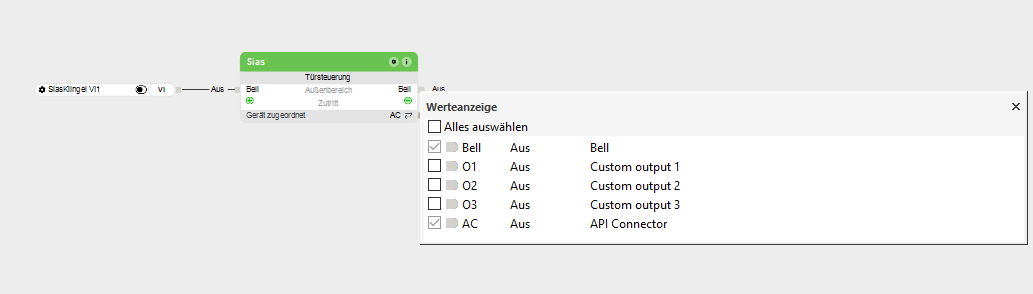
Now the Virtual Output Command can be dragged and dropped onto the worksheet and connected to the output:
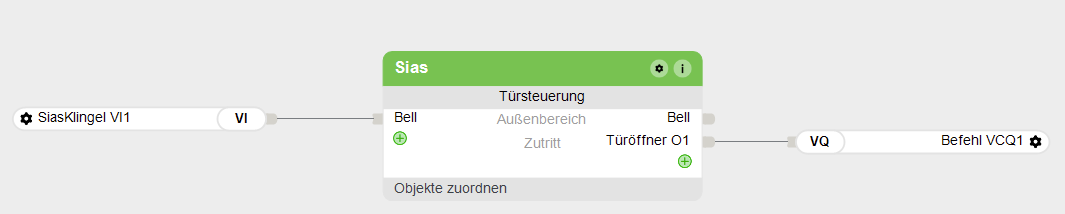
Finally, the finished program must be uploaded to the Loxone Miniserver via the Save to Miniserver button:

In the Loxone app, you can reach the intercom view via Rooms > Outdoor Area.
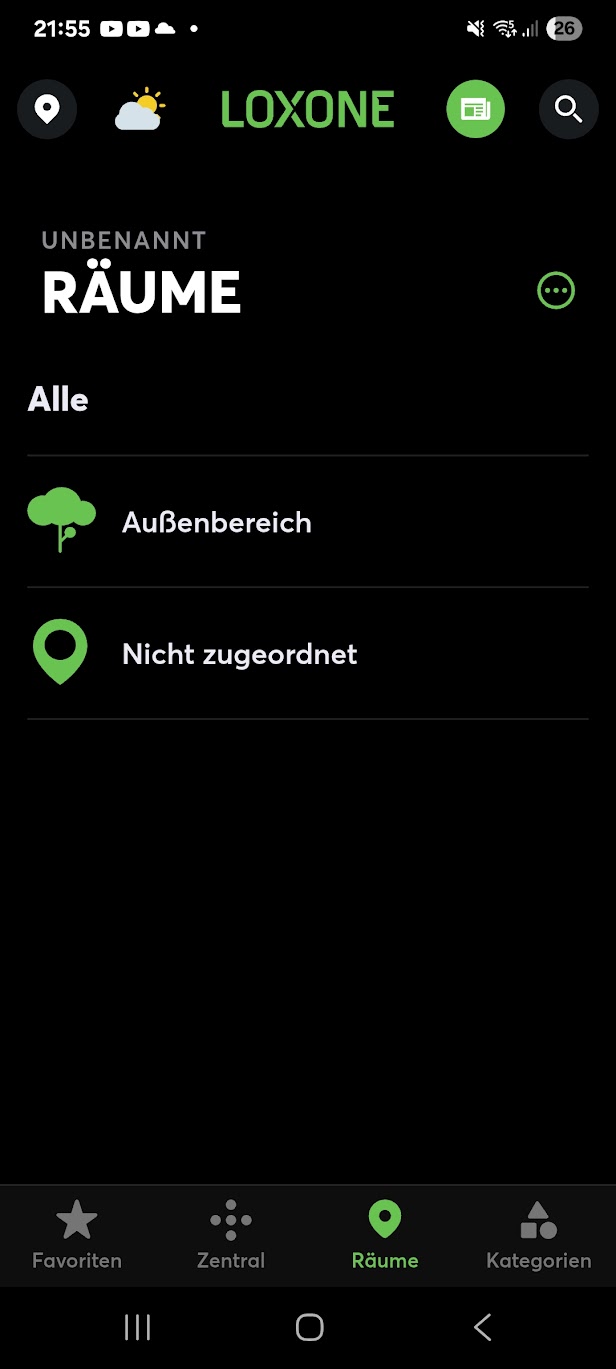
There, the MJPEG stream is displayed. When someone rings, a push notification appears. The Answer button establishes a voice connection. The Door Opener button triggers the relay. Under Activity, snapshots taken after ring events are stored.